Create a Disk Batch
Disk batches are created using the Batch Control toolbox.
If you can't find the Batch Control toolbox when you run KillDisk, make sure that you have the view activated. To do this, navigate to the file menu bar, click There should be a check mark next to the Batch Control view.
In the Batch Control toolbox, click New batch. This will open the Create a New Batch configuration wizard. After configuring batch settings, click Finish and the new batch will appear in the batch control window.
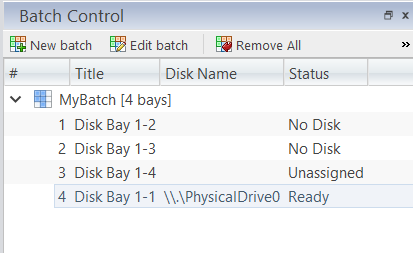
Figure: Batch Control Toolbox
Adding disks to a disk batch
Disk bays can be added to batches in several ways:
- From Disk Bays view
- From Edit menu
Read Add Disks to Batches for more information.
Removing disks from a disk batch
Disks are removed from a batch in a very similar way to the way they are attached. Follow the same steps as with Adding Disks, only select bays that are attached to batches and select the Detach command.
Deleting batches
Batches can be deleted by selecting the batch in the Batch Control toolbar and selecting the Delete command.
Edit batch attributes
Batch attributes can be edited at any time after batch created. See: Edit Batch Attributes
Disk batch attributes changed every time if altered in confirmation dialog before executed.