Along with the PDF certificate, KillDisk allows you to print labels to place on erased disks with its Print Label features. Disk Labels with process results and essential disk information could be issues for any disk processing, such as Disk Erase, Disk Examination, Disk Wipe and even Disk Clone. These labels may be completely customizable to print on any sized sheet with any dimension. Simply specify the parameters and KillDisk will prepare the printable labels for you. The procedure is outlined in this section.
Accessing the Print Labels Option
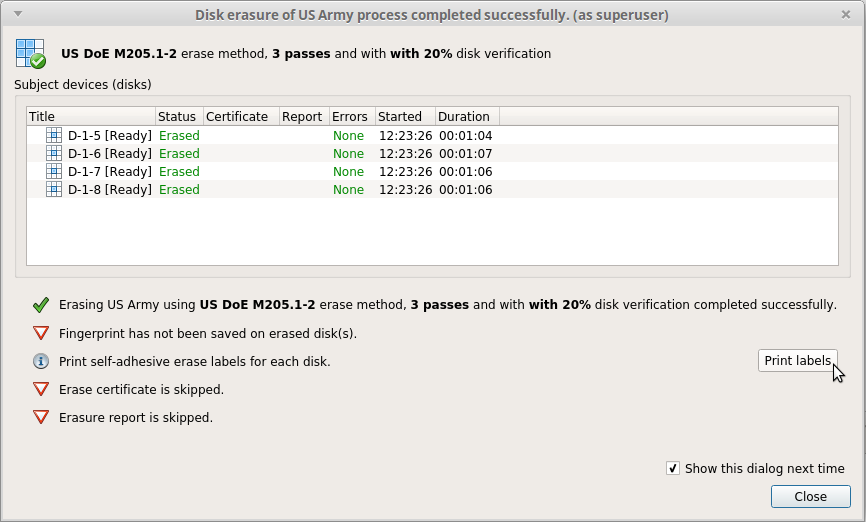
Upon the completion of a major KillDisk operation, you will see a report dialog. In the list of completed tasks, you will see the Print Labels button, depicted below. Click it to enter the Print Label Dialog.
Figure: Opening Print Label Dialog
Print Label Dialog
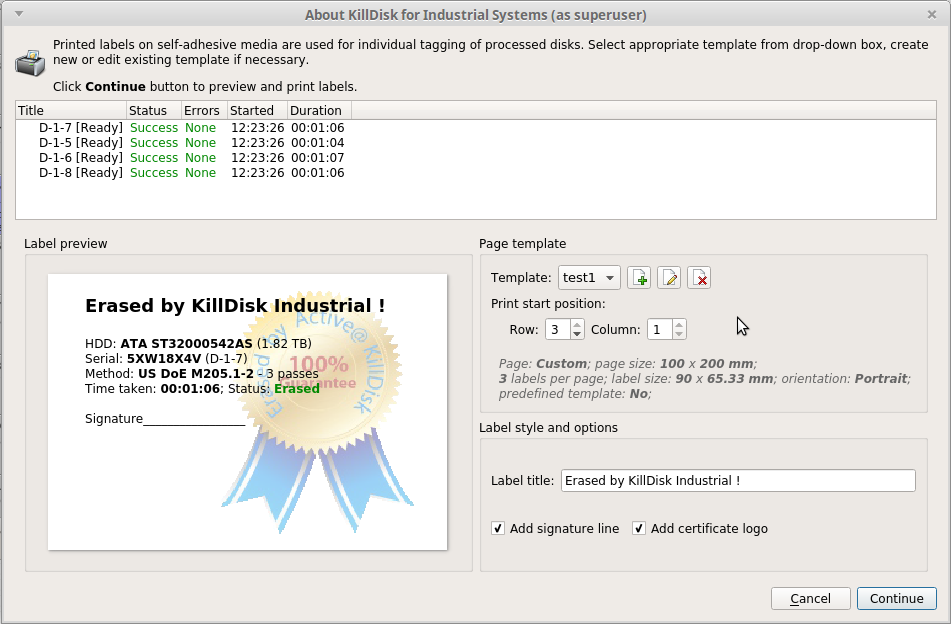
This dialog will allow you to configure the labels and prepare them for printing. The top of the dialog will show you a list of the drives that will have labels generated for them. At any point in the operation, a sample of the label is shown in the Label Preview window on the left side. The right side of the dialog has the styling and template configuration options.
Figure: Print Label Dialog
Page template options
The print label dialog gives you access to a number of predefined standard templates and any custom templates you may create. These
template may be easily selected without opening any additional dialogs and the details of the selected template will be displayed
below the selection box. If your specific labels differ from any of the templates available, the  button allows you to create a custom template with your own
specifications. Additionally, the
button allows you to create a custom template with your own
specifications. Additionally, the  button allows you to modify an
existing template and the
button allows you to modify an
existing template and the  button deletes the selected
template.
button deletes the selected
template.
Creating a new template
Upon clicking the button, the following template editor window
will appear. Descriptions of the template editor options are listed below.
Figure: Template Editor
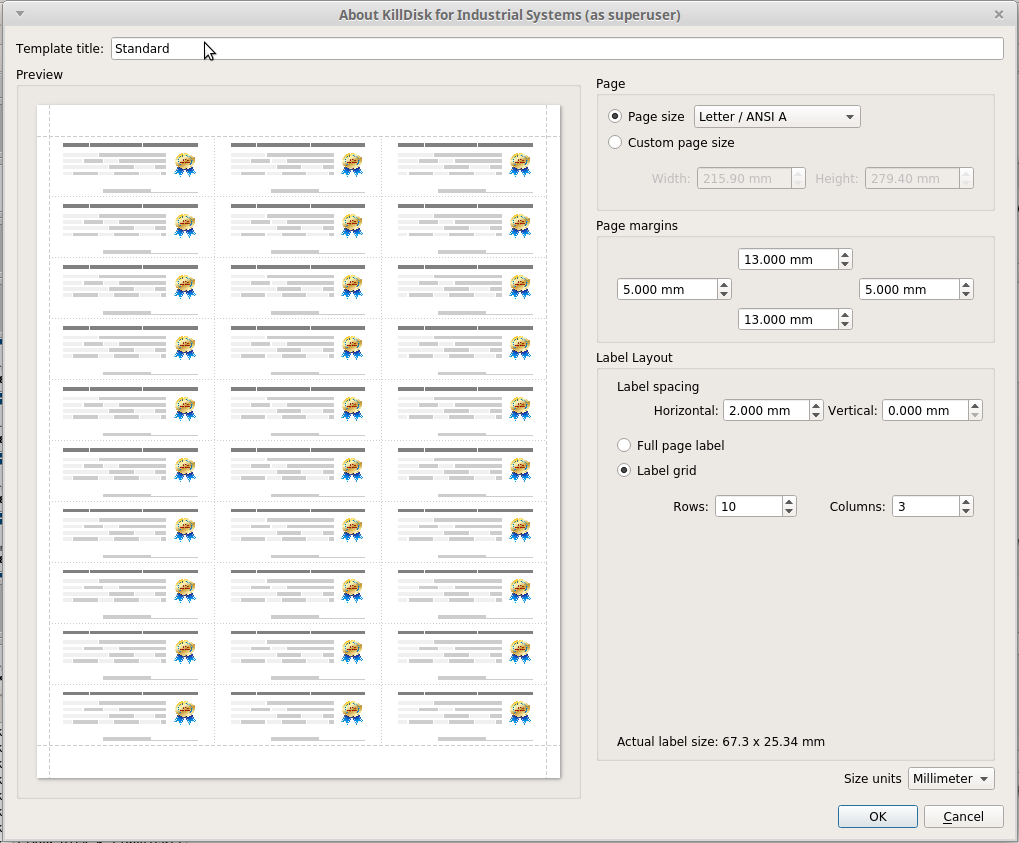
- Template Title
- Here you may create a custom title for your template. This is the name that will reference this template when selecting it in the Print Label Dialog
- Page
- Here you may specify the dimensions of the page used to print the labels. This may be selected from the list of standard sizes, or defined using exact measurements.
- Page margins
- Here, page margins are defined for the top, bottom, left and right sides of the page.
- Label Layout
- These settings define how the labels appear on the page. You may define the spacing in between labels on the page and the dimensions of the label grid. Once you've put in the proper measurements, KillDisk will take care of the formatting.
- Unit size
- The units of measurement may be manipulated between millimeters, inches, pixels and points. If a value in entered in one measurement and the unit size is changed, the appropriate conversion will take place.
Print Start Position
The print start position section of the dialogue allows you to select what label on the page the labels start printing from. As you use labels, the labels won't always start from the 1x1 position, so you can adjust this setting accordingly.
Label Style and options
These option allow you to change the styling on the labels with the following options:
- Label Title
- Allows you to set a title to be printed in bold at the top of the labels. This can be company name, batch name or any other descriptors you may consider useful to identify the operation
- Add signature line
- Toggling this on places a line at the bottom of the label for the technician to sign off on upon completion of the wipe
- Add certificate logo
- Includes the logo used in the certificate as a watermark background of the label.
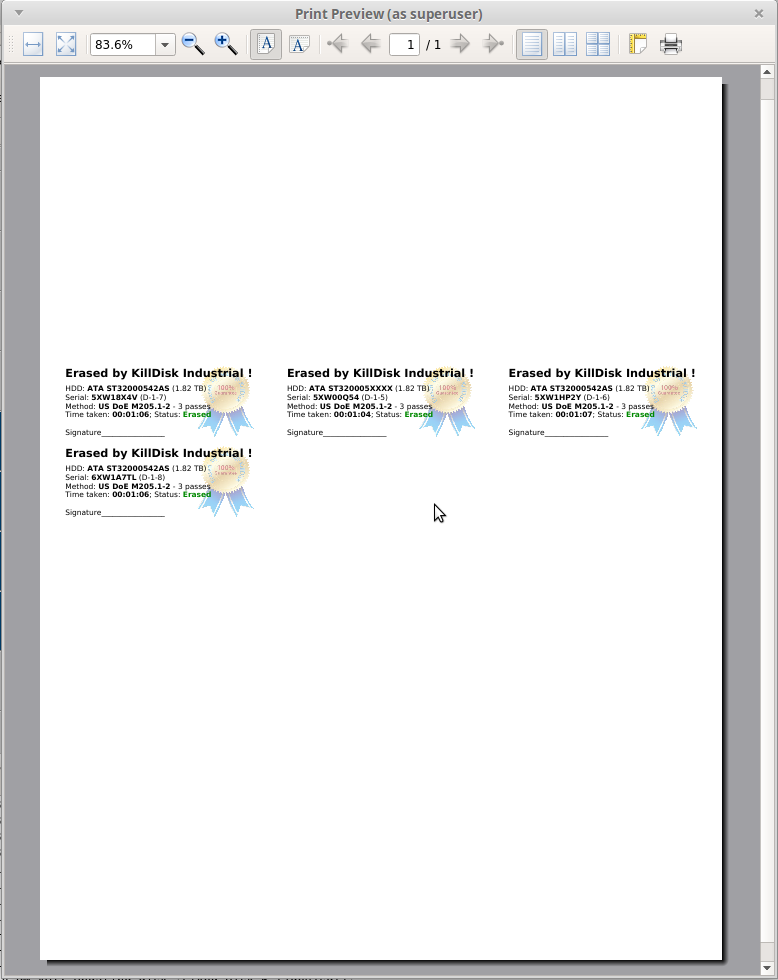
Print Preview and Printing
Once all the settings are configured, you may see the print preview by clicking the Continue button. The preview displays what the print is going to look like and from here the print job can be sent to a printer that is configured with the system.
Figure: Example of a Print Preview