Contents > Erase or Wipe Logical Drives (Partitions)
3.4 Erase or Wipe Logical Drives (Partitions)
In all previous examples in this chapter, the process has erased or wiped data from a physical drive.
Using a similar method, you can erase or wipe logical disks and partitions. This includes damaged "Unallocated" areas where partitions used to exist and the areas not visible to the current operating system.
The Wipe button is disabled when partitions cannot be wiped because of issues such as an unknown or unsupported file system.
KillDisk must lock the partition before performing a Wipe or Erase action. A partition cannot be locked if it is in use by another user or application. In this case a dialog box appears with information that the disk is being used and you need to either skip it, or force a "volume dismount". If you skip it, the wipe or erase operation is canceled for this drive. If you select "volume dismount", some data in the drive's cache may be lost.
This could affect other applications working with the same volume. If, for example, you made changes to a Word document located on D: and haven't saved the file, a subsequent " forced dismount" for D: would likely result in the loss of the changes. The file's original version should be unaffected.
3.5 Erase Data From a Logical Drive
To erase data from a logical drive:
- Start Active@ KillDisk from a bootable device or from the Programs menu.
- The Local System Devices screen appears.
All system hard drives and removable drives are displayed in the left pane. System information is displayed in the right pane.
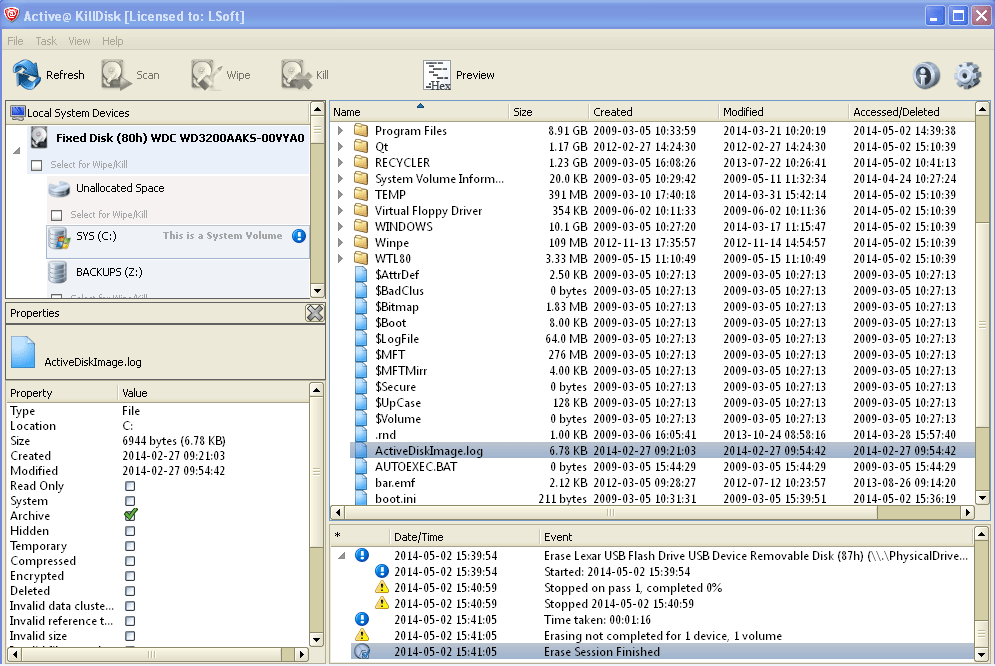
- Select the check box of a logical disk/volume or the Unallocated area.
- Press F10 or click Kill. The Kill dialog box appears.
- Set the erase method and other parameters for erasing. For information on these parameters, see Erase/Wipe Parameters in this guide.
- Complete the process as you would for other devices.
3.6 Wipe Data From a Logical Drive
To wipe data from a logical drive:
- Start Active@ KillDisk from a bootable device or from the Programs menu.
- The Local System Devices screen appears.
- All system hard drives and removable drives will be displayed in the left pane along with their system information in the right pane.
- Select the check box of a logical drivedisk/volume, or next to the Unallocated space.
- Press F9 or click Wipe to wipe data from unoccupied areas. The Wipe Free Disk Space dialog box appears.
- Select a wipe method and set other parameters for wiping. For information on these parameters, see Erase/Wipe Parameters in this guide.
- Complete the process, similar to the process for devices.
Before < Erase or Wipe Logical Drives (Partitions) >
Next
|
This document is available in PDF format,
which requires Adobe® Acrobat® Reader
(Free download):
|

