Active@ Boot Disk Creator

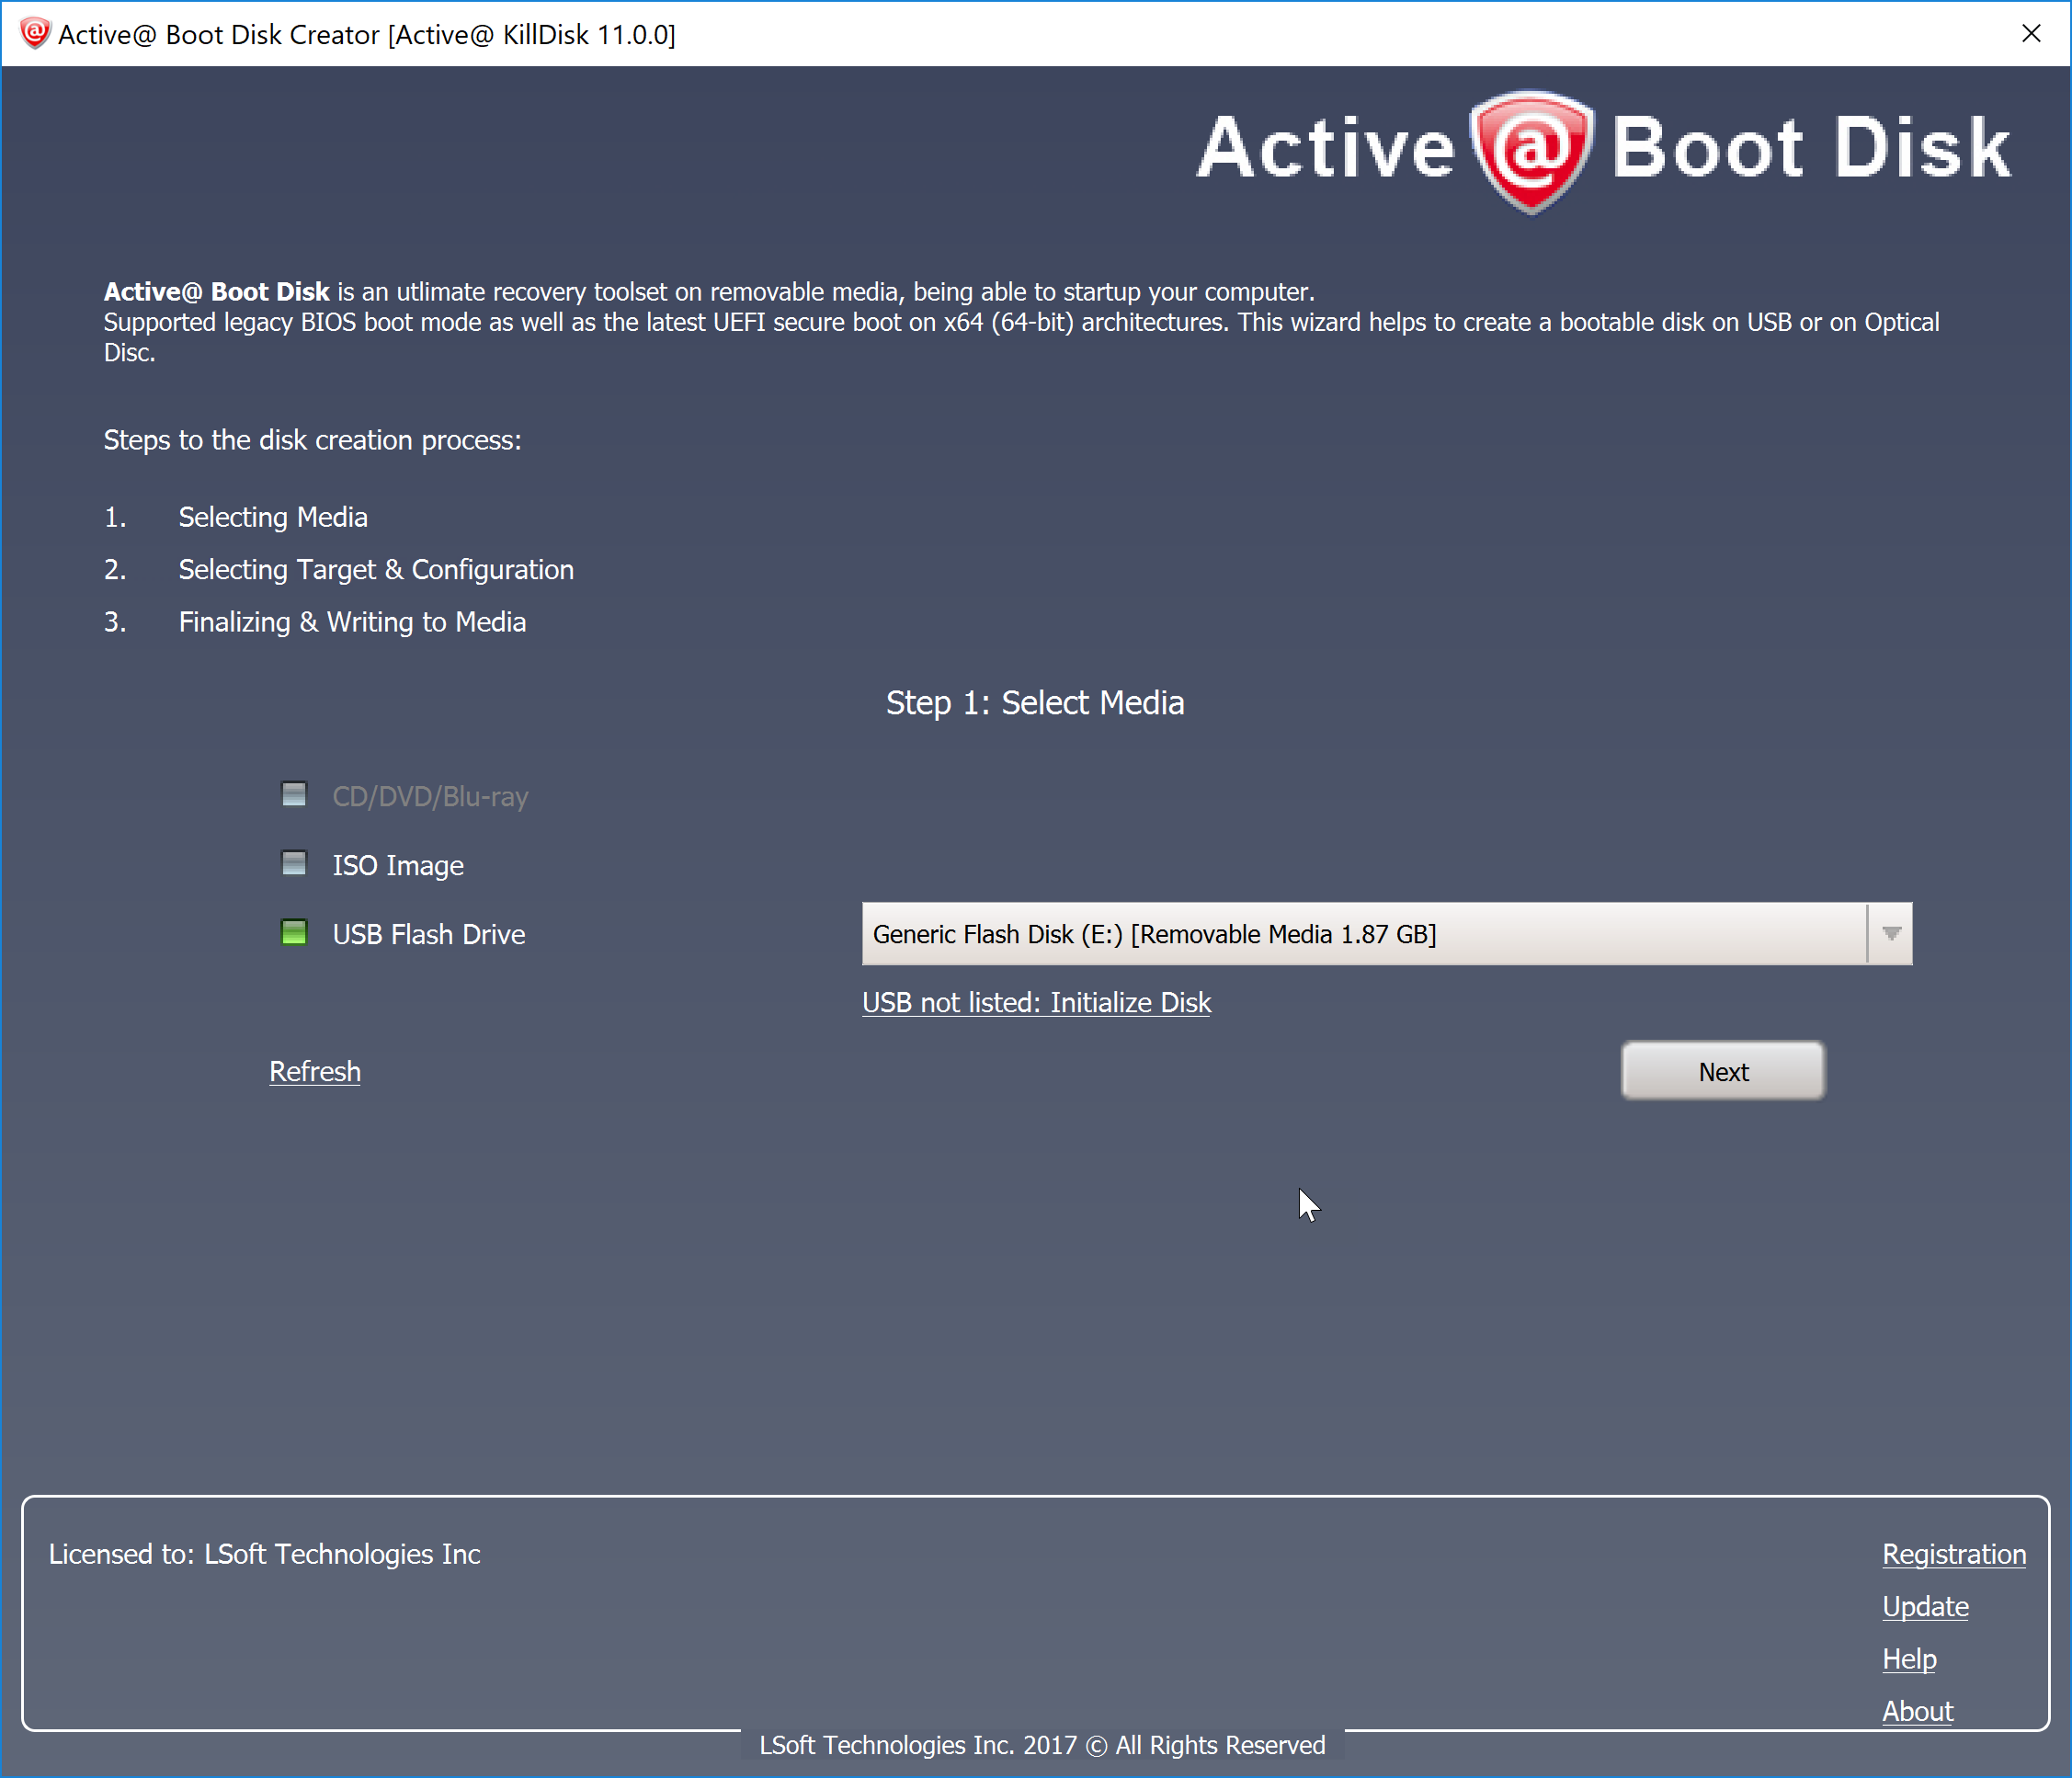
Active@ Boot Disk Creator helps you prepare a bootable CD, DVD, Blu-ray or USB mass storage device that you may use to start a machine and repair security access issues or destroy all data on the hard drives.

To prepare a bootable device:

  1. Run Bootable Disk Creator from the Windows Start menu (Windows platform). The Active@ Boot Disk Creator setup wizard will appear.

    Figure: Boot disk creator applet

  2. If Active@ KillDisk has not been registered yet, you need to register software first by clicking Register in the bottom-right corner and Registering the Software
  3. In the Active@ Boot Disk Creator main page, select the desired bootable media: a CD/DVD/Blu-ray, a USB Flash Drive or an ISO Image file to be burned later. If several media drives are inserted, click the ellipsis button (…) and choose a particular device. Click Next.
    Note: If your bootable media device does not appear in the drop-down list, click Initialize Disk. You should be able to find the device in the setup menu and initialize it to be compatible with the application. This process will erase all data on the selected device.
  4. Select the target platform for booting up. Depending on Active@ KillDisk version you purchased, one or more target platforms will be available for selection (Windows, Linux GUI or Console).

    Figure: Creating a Linux boot disk

  5. At this step you can specify additional boot disk options:
    1. To customize boot options, click the System Boot Settings tab. You can change the default settings to be used: Time Zone, Additional Language Support, Default Application Start and Auto-Start Delay. You can also change these options in the Active@ Boot Disk initialization screen while booting (Windows version). Additional Network and Security sub-tabs allow to configure static IP & Firewall settings, as well as to protect your Boot Disk with a password at boot time.
    2. To add your custom files to the bootable media, click the User’s Files tab. Add files or folders using the related buttons at the right side. Added items will be placed in the User_Files root folder
    3. To add specific drivers to be loaded automatically, click the Add Drivers tab. Add all files for the particular driver (*.INF, *.SYS, …). Added items will be placed in the BootDisk_Drivers root folder. At boot time all *.INF files located in this folder will be installed.
    4. To add specific scripts to be launched after Active@ Boot Disk is loaded, click the Add Scripts tab. Add your scripts (*.CMD files). Added files will be placed in the BootDisk_Scripts root folder. At boot time all *.CMD files located in this folder will be executed.
    5. To add command line parameters for KillDisk startup after the boot, click Application Startup tab and type desired parameters. This tab is available only if Default Application Start option is turned ON on the System Boot Settings tab
  6. Click Next. Verify the selected media, sizes and boot up environment.
  7. Click Create. A progress bar appears while the media is being prepared.
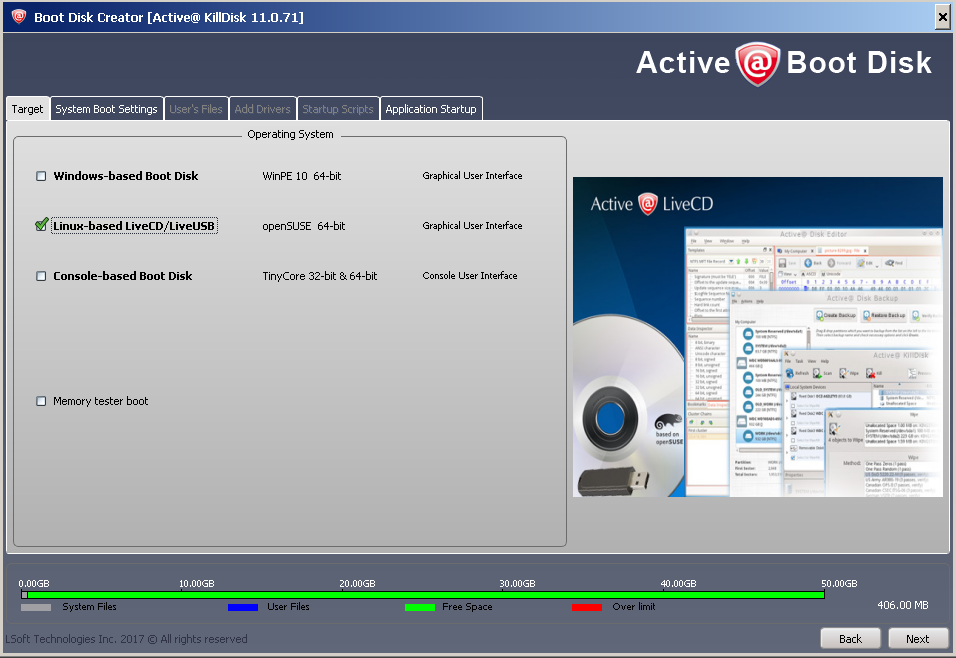
Note: Not all additional boot disk options are accessible for all platforms. For example, Add Drivers section applies only to Windows Operating System, and is available for Windows target only.
Note: A USB Drive or blank CD/DVD/BD must be inserted and explicitly chosen on the first step before you can proceed further.
Note: If you’ve created an ISO Image file, you can burn it to a disk later on using either our free Active@ ISO Burner utility ( www.ntfs.com/isoburning.htm) or a utility of your choice.