Resume Stopped or Interrupted Erase
- Start Erase for the disk all over again
- Resume Erase from the point it stopped on a disk (time saving option)
When application starts all detected disks being analyzed for any erases interrupted previously, and if such erases detected for one or more disks, Resume Erase button become active for these disks. Disks with stopped or interrupted erase are marked with a red label Interrupted Erase.
If disks with interrupted erase being detected after program start, pop up dialog appears automatically suggesting you to Resume Erase. You can run Resume Erase from here, or select the particular disks later on.
Resume Erase complete process is described below:
-
Confirm options
After Resume Erase Disk dialog appears, all disks where Resume Erase option is available will be displayed. You can select more disks for resume erase (if available) or deselect some selected disks.
Figure 1: Resume Erase Options 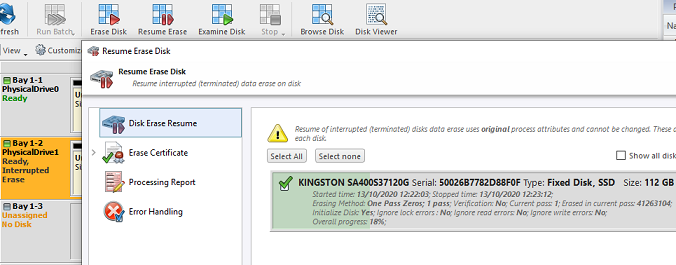
Verify selected disks, certificate and report options and click Start button to resume interrupted erase. Wait until erase is complete.
After erase completion there are options for reviewing results (logs, processing reports and attributes), printing Erase Certificates and Disk Labels for processed disks.